Installing and Operating Couchbase Server Community Edition (CE)
- Learn how to install and operate Couchbase Server Community Edition (CE)
- Compare installations across various platforms and find the method that fits your development needs
This tutorial was built using the Community Edition(CE) of Couchbase Server, so you can use this distribution to follow this guide free of charge.
Couchbase Server is an integrated document database and key-value store with a distributed architecture for performance, scalability, and availability. It enables developers to build applications easier and faster by leveraging the power of SQL with the flexibility of JSON.
For additional questions and feedback, please check tagged questions on Stack Overflow or the Couchbase Forums.
Installation
Tested for
Ubuntu 18.04,macOS MojaveandWindows 10.
You can install the server in your machine (bare metal) or use a containerization tool such as Docker, to speed up this part of the tutorial.
Docker
This would be the fastest and easiest way to get the server started. If you need help installing Docker, their official documentation contains installation guides for multiple operating systems.
After Docker is up and running you can type this command on your terminal to launch the server.
docker run -itd --name couchbase-server -p 8091-8094:8091-8094 -p 11210:11210 couchbase:communityFor a more extensive install guide, you can check the Couchbase image description on Dockerhub
Bare Metal
Ubuntu 18.04
First, open your terminal and install these tools, used by some of the core Couchbase Server packages.
sudo apt update
sudo apt install curl lsb-release gnupg
Download and install the .deb meta-package, it contains the necessary information for apt to retrieve Couchbase's necessary packages and public signing keys.
curl -O https://packages.couchbase.com/releases/6.5.0/couchbase-server-community_6.5.0-ubuntu18.04_amd64.deb
sudo dpkg -i ./couchbase-server-community_6.5.0-ubuntu18.04_amd64.deb
Now you are ready to install the Couchbase Server CE latest release.
sudo apt update
sudo apt install couchbase-server-community
For a more extensive install guide, you can follow the Couchbase documentation for Ubuntu 18.04
Windows 10
Download the MSI installer from this link
Execute it and follow the wizard.
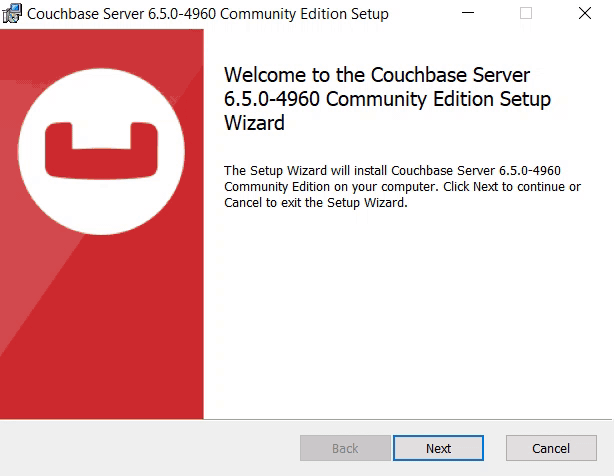
For a more extensive install guide, you can follow the Couchbase documentation for Windows 10.
macOS
Download the zip file from this link and open it, it will be send to Downloads folder.

Open the folder and drag the application to you Applications folder.

Double click the Couchbase Server application to start the server.

You can now use the navigation tab icon on the top right corner of your desktop to manage your server.


For a more extensive install guide, you can follow the Couchbase documentation for macOS.
Initialization
The server starts automatically after installation but you can manage this behavior, as shown here.
If everything went well during installation, when you open up your browser on localhost:8091 you should see the Couchbase Server Web Console.

The next step will be to configure your server, so click on Setup New Cluster.
Choose a server name and an administrator with a password, these credentials must be saved for later use.
Now press Finish With Defaults, this should be enough to follow our tutorial. If you wish to better configure the server, up to your particular needs, follow this link.
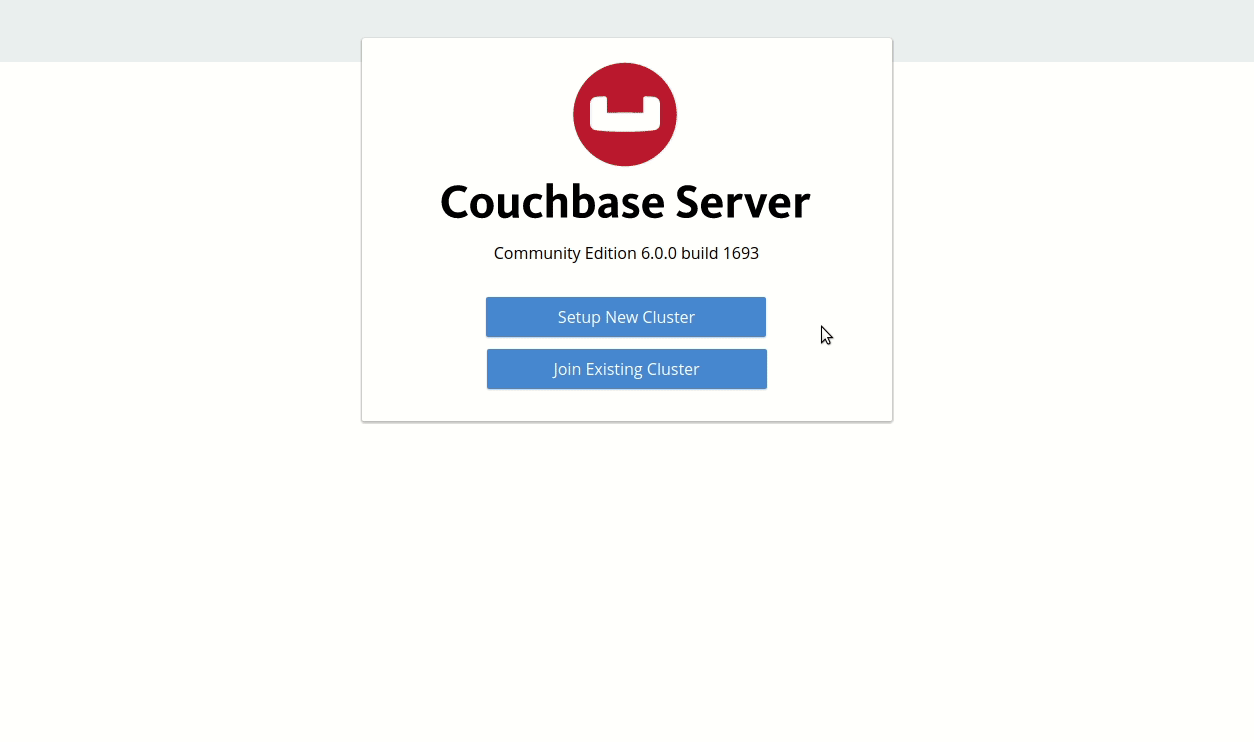
You now have a functional Couchbase Server CE.
Next Steps
We recommend you to follow our next tutorials, go to the tutorials page to find more resources.
Also, visit the Couchbase Documentation to learn more about all sorts of topics.